A Stand-up Desk (Ikea hack)
With help from metalsmith-extraordinaire Dustin John and better-half Daniel Dunnam, I got to build my dream desk. Specifically, it is a minimalist convertible standing-sitting desk/storage unit made from Ikea cabinets, a top from Lowe’s and a linear actuator. It isn’t perfect*, but it has been awesome to use… and has practically banished the spiritually-degrading work clutter, which was in abundance (scroll down.)
“We shape our tools and thereafter our tools shape us.”
—Marshall McLuhan (or, at least, popularly mis-attributed to him)
If you’ve ever tried to use Illustrator with the intent of avoiding something that wow, looks just like Illustrator!, then you’re familiar with the sentiment behind this quote. Unless actively willed otherwise, the tool defaults to the aesthetic style of Illustrator, as if by a laws of nature. Evidenced by this on-going background struggle: digital tools shape what we make. The same seems to be true of physical workspaces, although in my case, it took me quite a few years to accept that I… had a workspace problem.
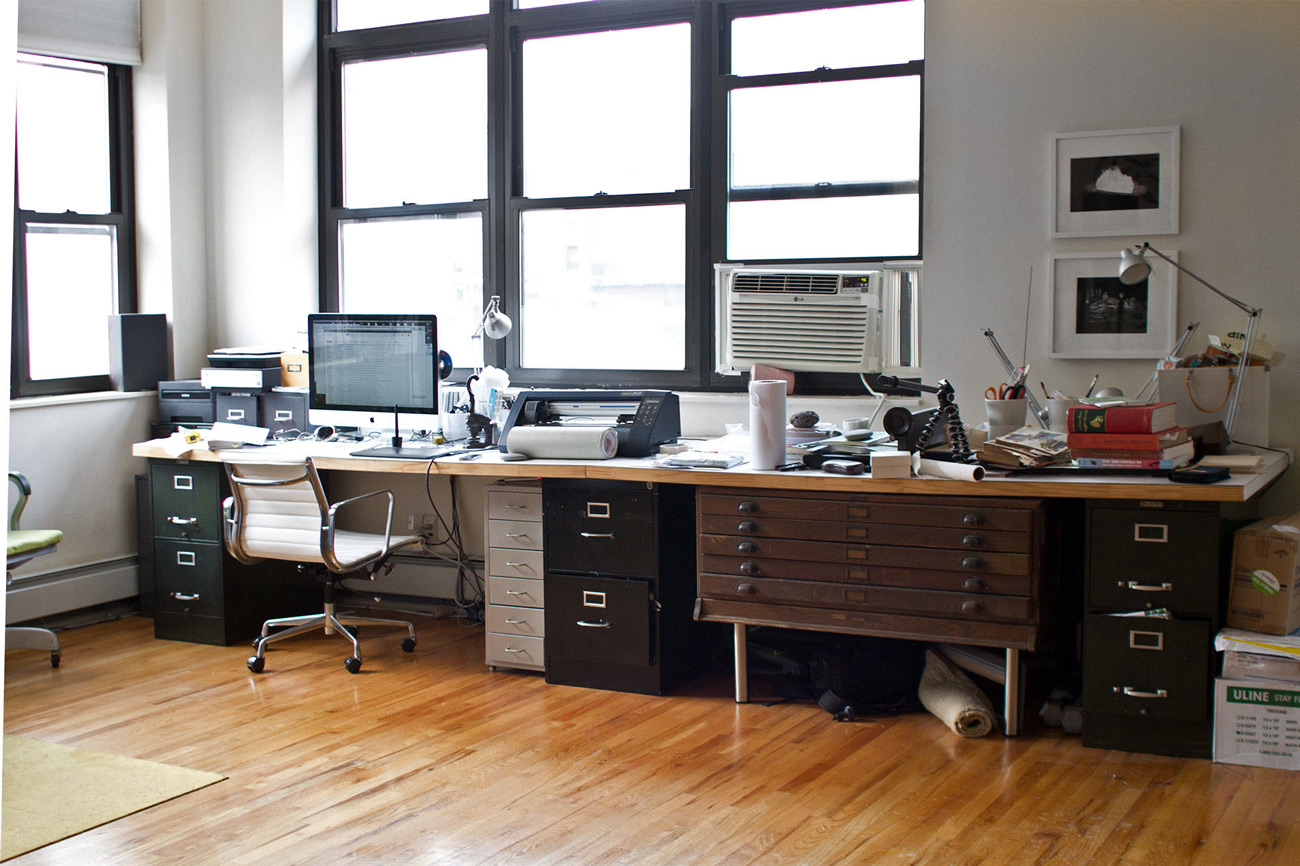
Exhibit A. “A workspace problem”:
That desk—the place where I spent most of my life—was shamefully at odds with my habits. And my habits failed to adapt. And the piles of [important] junk and drawings piled up to the sky. After a few quick google searches, I realized the magnitude of this undertaking—that the only workspace likely to sustainably ward off entropy would be one that I made in the image of my own work habits themselves, a custom-built desk. Fearing the $-implications of this (and eager to build something BIG), I decided to go the DIY route, use as many pre-fabricated modular parts as possible, and rely on the kindness of favors from friends. My requirements were as follows: I needed a desk long enough to accommodate a variety of physical work, where I could stand or sit comfortably for 10+ hrs/day, that had tons storage for tools, that offered a way to visually assess work-in-progress/inspiration, and had a white surface for photographing finished work. And all of this needed to somehow materialize without first building a woodshop.
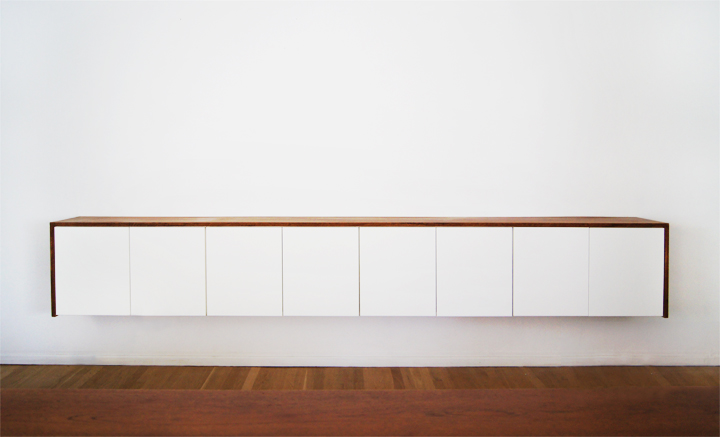
I began the quest with this super-helpful Ikea-hack “fauxdenza” project from the Brick House. Drawer pulls proved unnecessary in this floated state (the cabinets can easily be opened from the bottom):
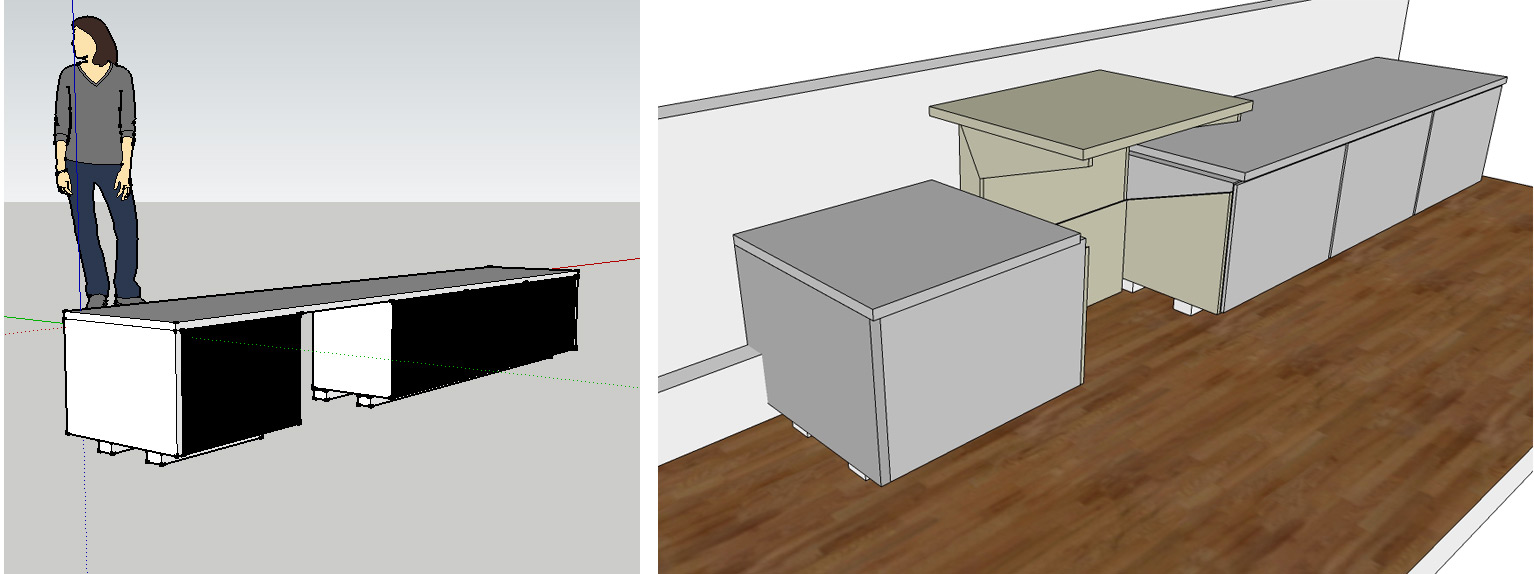
After some strenuous sitting-down tests, I determined that the ideal seated desk surface height for my short self was 28″ and that I should use the 24″x 36″ Ikea Akurum wall (refrigerator-top) cabinets as the desk’s basic building blocks. With that, I started building it out in Google sketchup (.skg file). My original schematic is on the left: flanking the to-be-levitated computering space are Ikea cabinets, which are floated off the floor and topped with white acrylic. How the computering-space would levitate, I did not know. After many a night of failed research into cranks, pulleys and motors, my buddy, Dustin hopped into the project. He determined that the levitating computering space (right), could be made in two parts. On the top: a cradle attached to the acrylic desktop surface. On the bottom: a routed desk-drawer-esque holster which the cradle would slide into. A linear actuator attached to a rocker switch would control the movement.
After double-checking the models and measurements, Daniel and I dove headlong into the land of meatballs and wooden pegs.
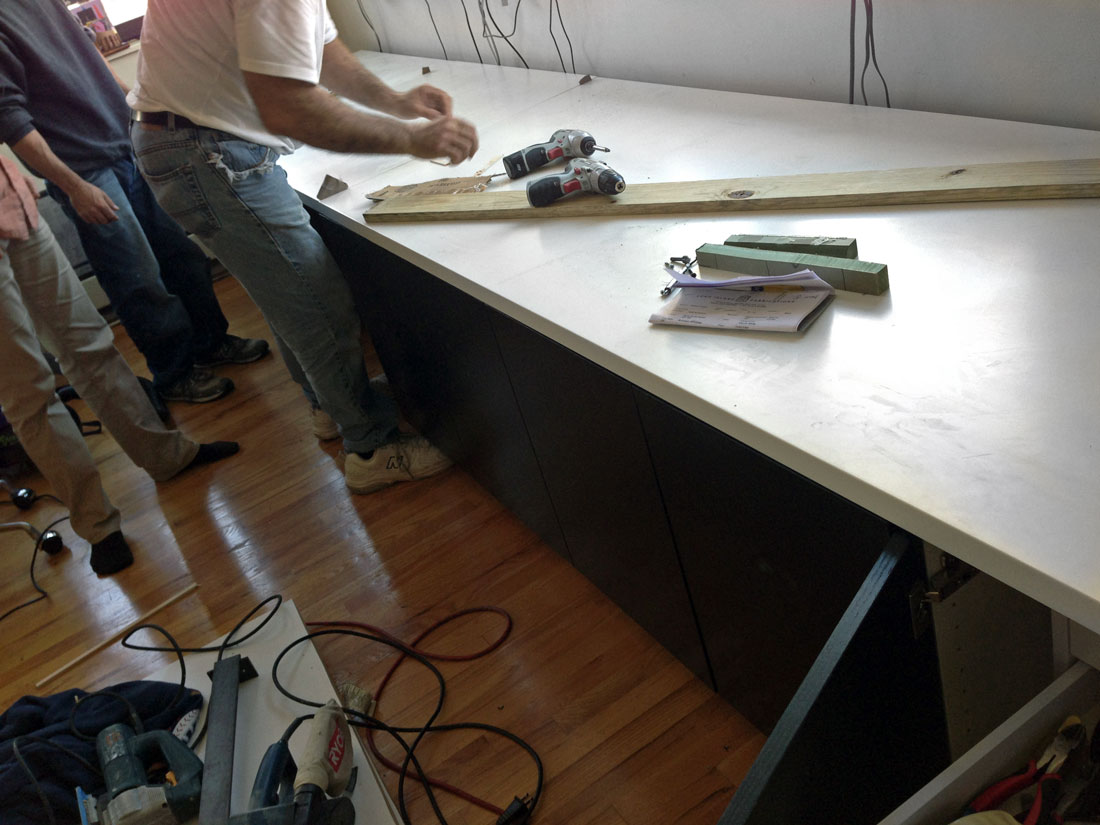
We assembled the white Akurum cabinets with dark brown doors, aligning the backs of each cabinet with Ikea’s standard cabinet rail-mounting system.
Because the desk only needed to float 2.5″ above the floor (and because of a pesky radiator situation), we decided to forgo mounting the cabinets to the wall as intended and instead supported them with stacked boards, which they overhang and disguise from view.
Meanwhile, Dustin built the cradle for the raising/lowering computering space, which works like a giant desk drawer turned on end, with rails made from a 1″x0.5″ length of yellow plastic. Here is a view from the side with the desk completely raised:
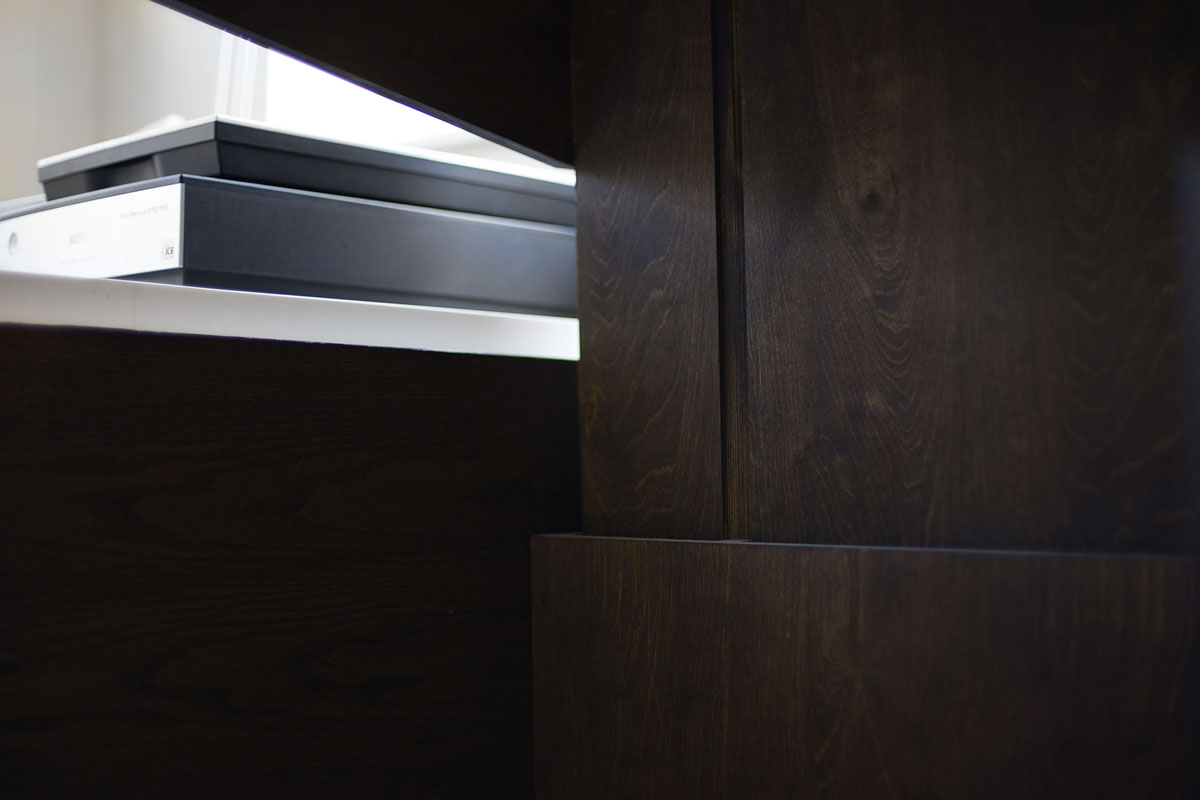
In the front, he routed a groove in the upper cradle and lower holster to keeps everything on track. (These grooves also serve the purpose of preventing the levitated desktop from tilting laterally.)
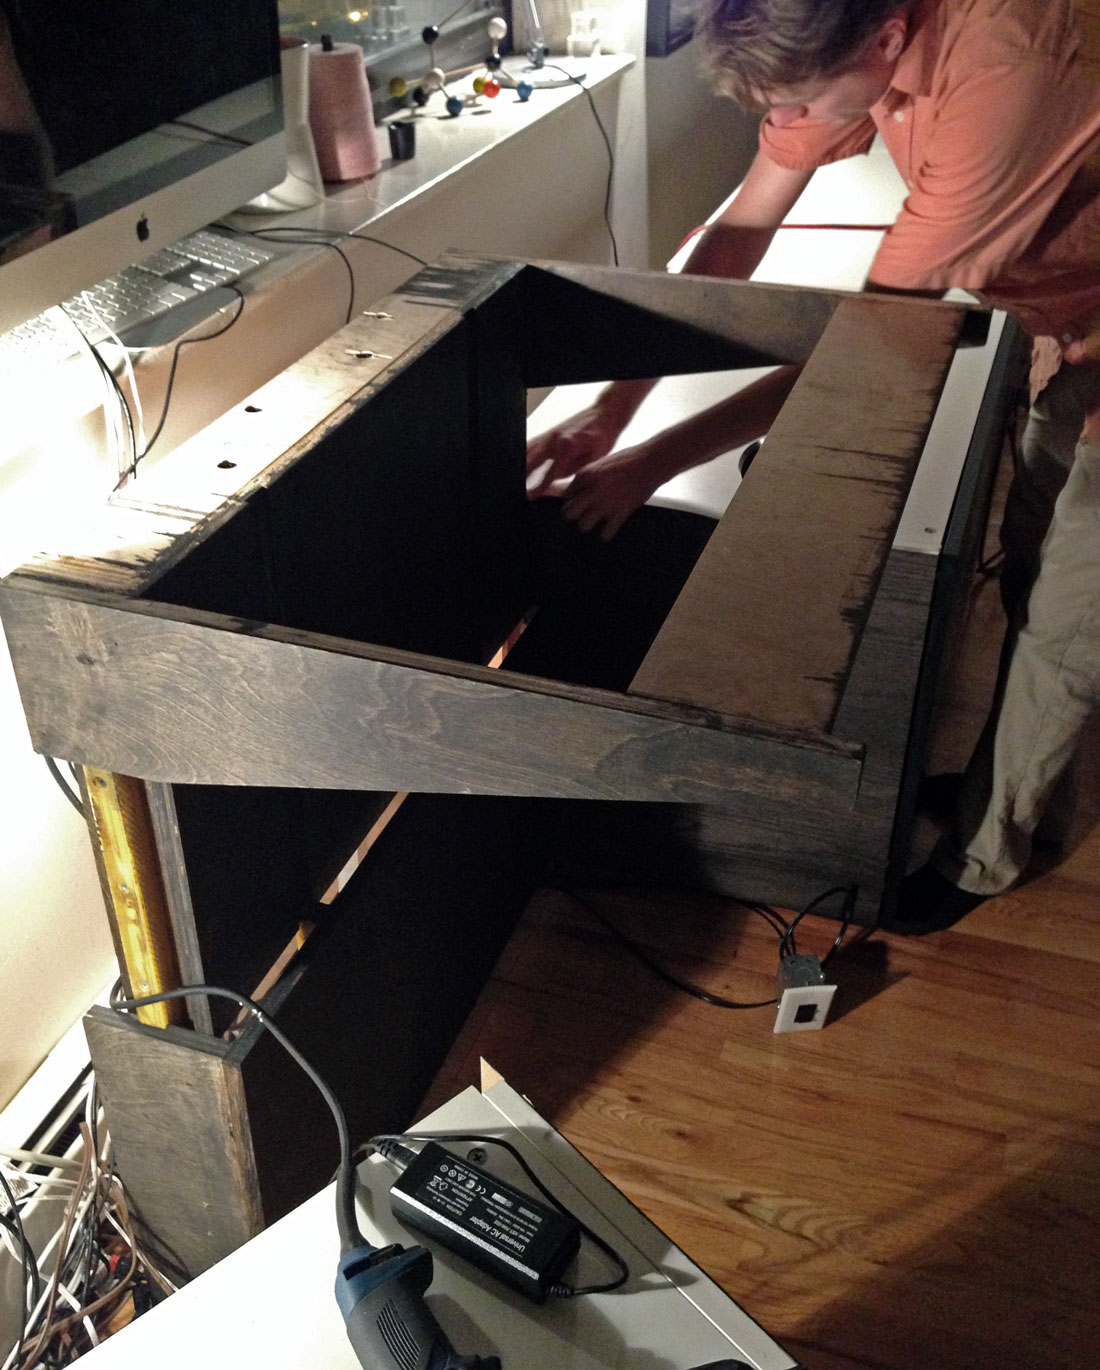
Behind this piece is the real magic: a linear actuator—a gadget [almost NSFW] which extends to raise and lower the cradle from its holster. Dustin sliced open a pipe to secure the actuator into the bottom holster (there is also a piece that centers it to the top cradle, which you can see off to the side):
Figuring out which actuator to order was tough… I ended up purchasing three for testing purposes and kept this one and this power supply:
*However, this model ended up being too slow and too loud (imagine a wheel-chair lift)—if I had it to do over again, I would find a 2x more powerful model.
Here is a diagram and a video showing how to attach the actuator to the rocker switch and power adaptor:

With everything attached and wired, Daniel slid the levitation-cradle against the wall, flush with the Ikea cabinets and then we bolted it together.
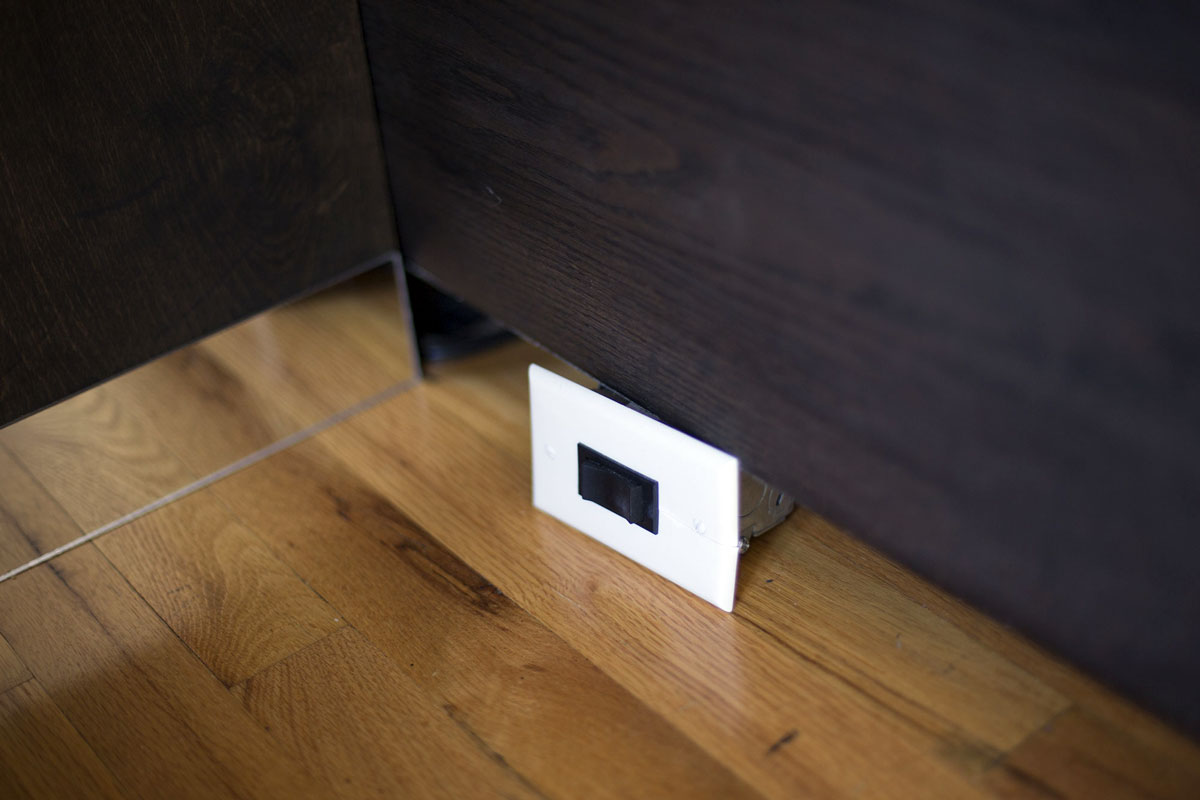
The rocker switch is tucked away, just out of view, in the seating area of the desk.
Then, we ordered the desktop material, which was the crazy indulgent splurge of this project (16 feet of LG Hi-Macs white acrylic) from Lowe’s countertop department (installation is included in the cost per sq. foot at least.) A nice grade of wood and/or doors and/or laminated particle-board would likely work just as well, but I’m a sucker for white acrylic surfaces. It took a loooooong while for it to get delivered (in retrospect, this should have been step #1.) In the meantime, I precariously balanced my computer on a board (first-world problems.)
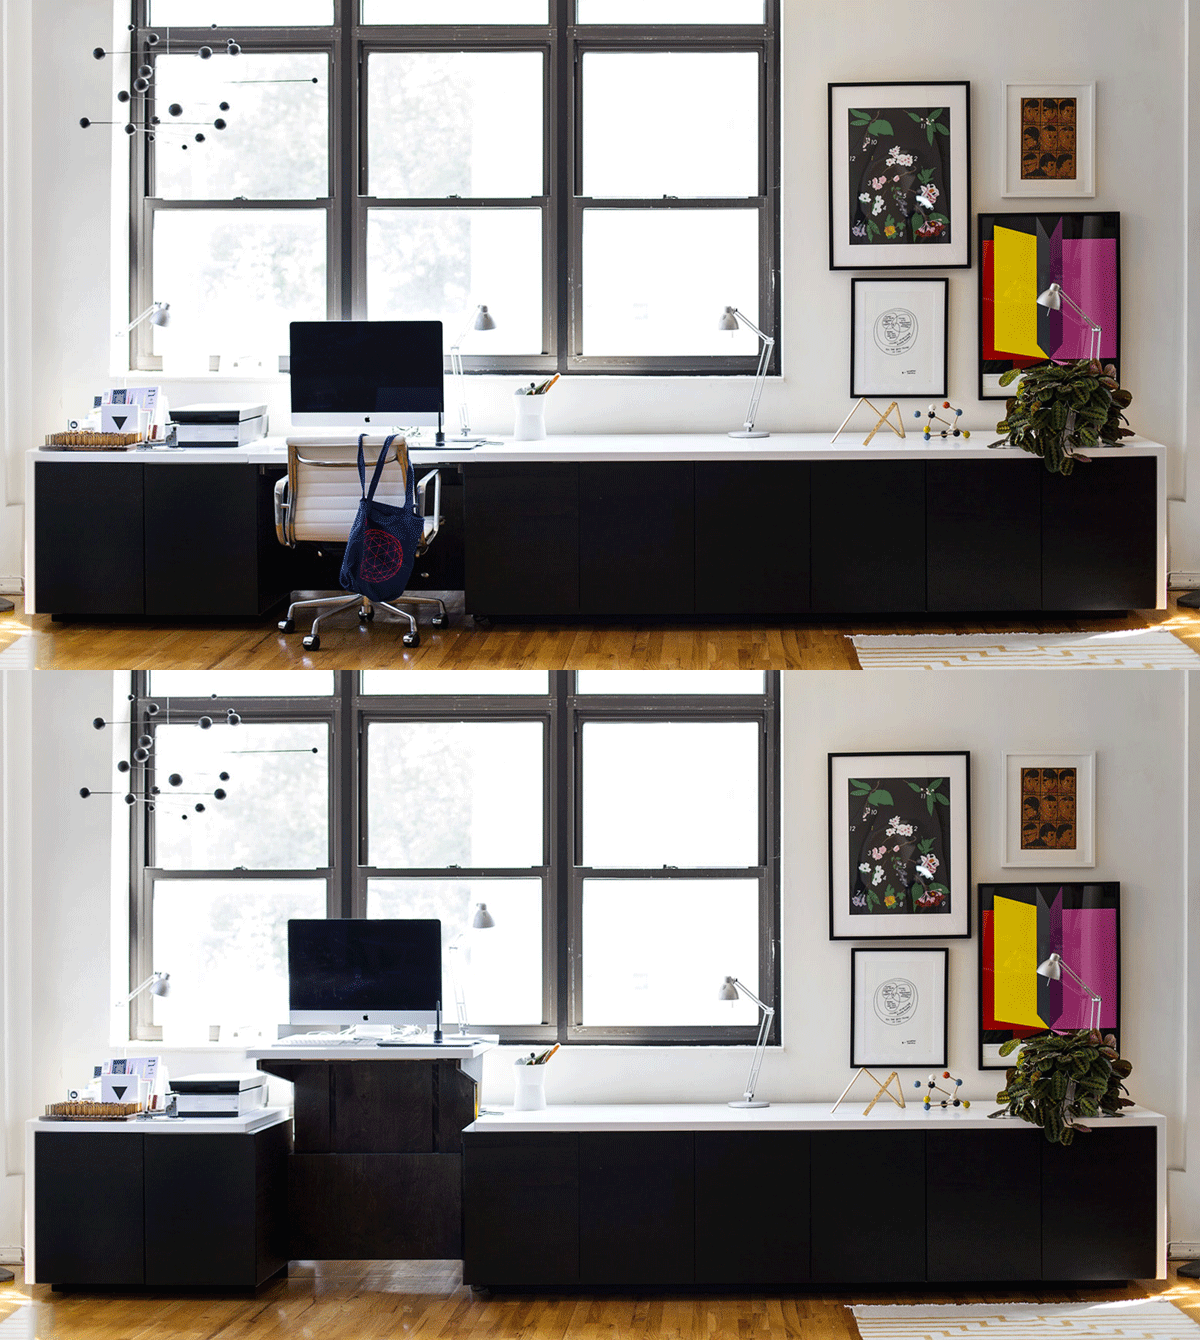
The center piece of desktop surface is 2 inches wider than the cradle piece on each side—that way, when it is lowered, it rests upon the same surface as the rest of the desktop (creating the illusion of one continuous piece when in the seated configuration.)
A fancy thing that they can do with solid-state acrylic countertop material (like Corian or Hi-Macs) is that they can bond the corners to look completely seamless. (Although you must request this when ordering.)
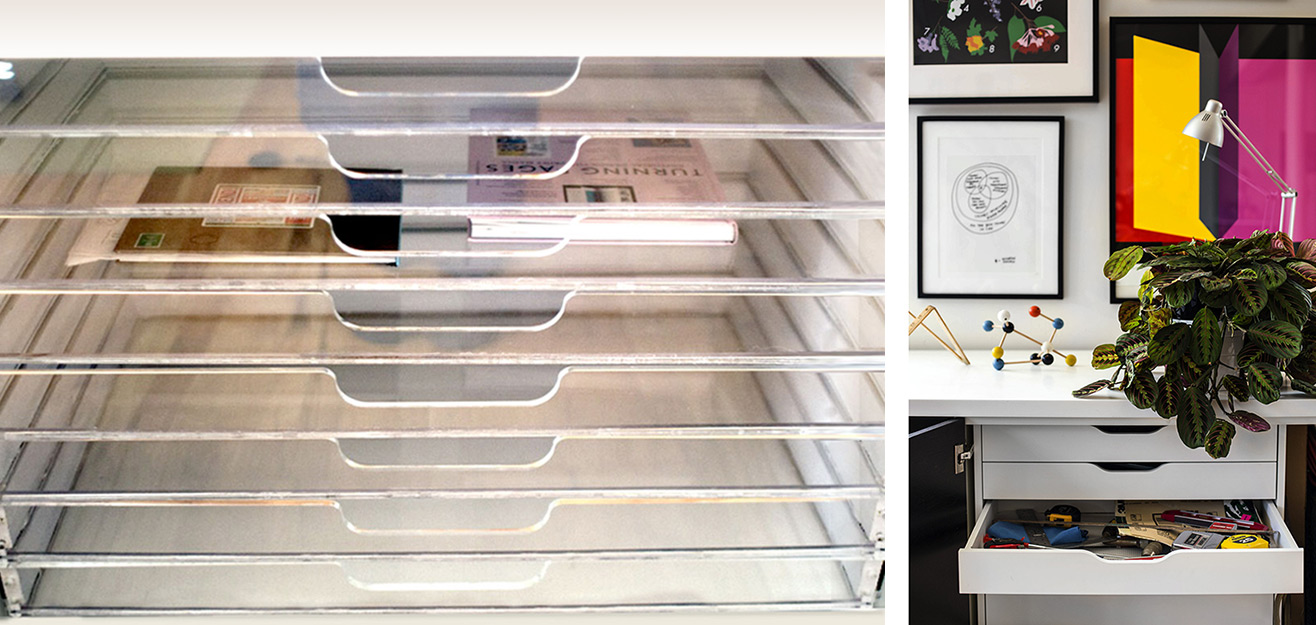
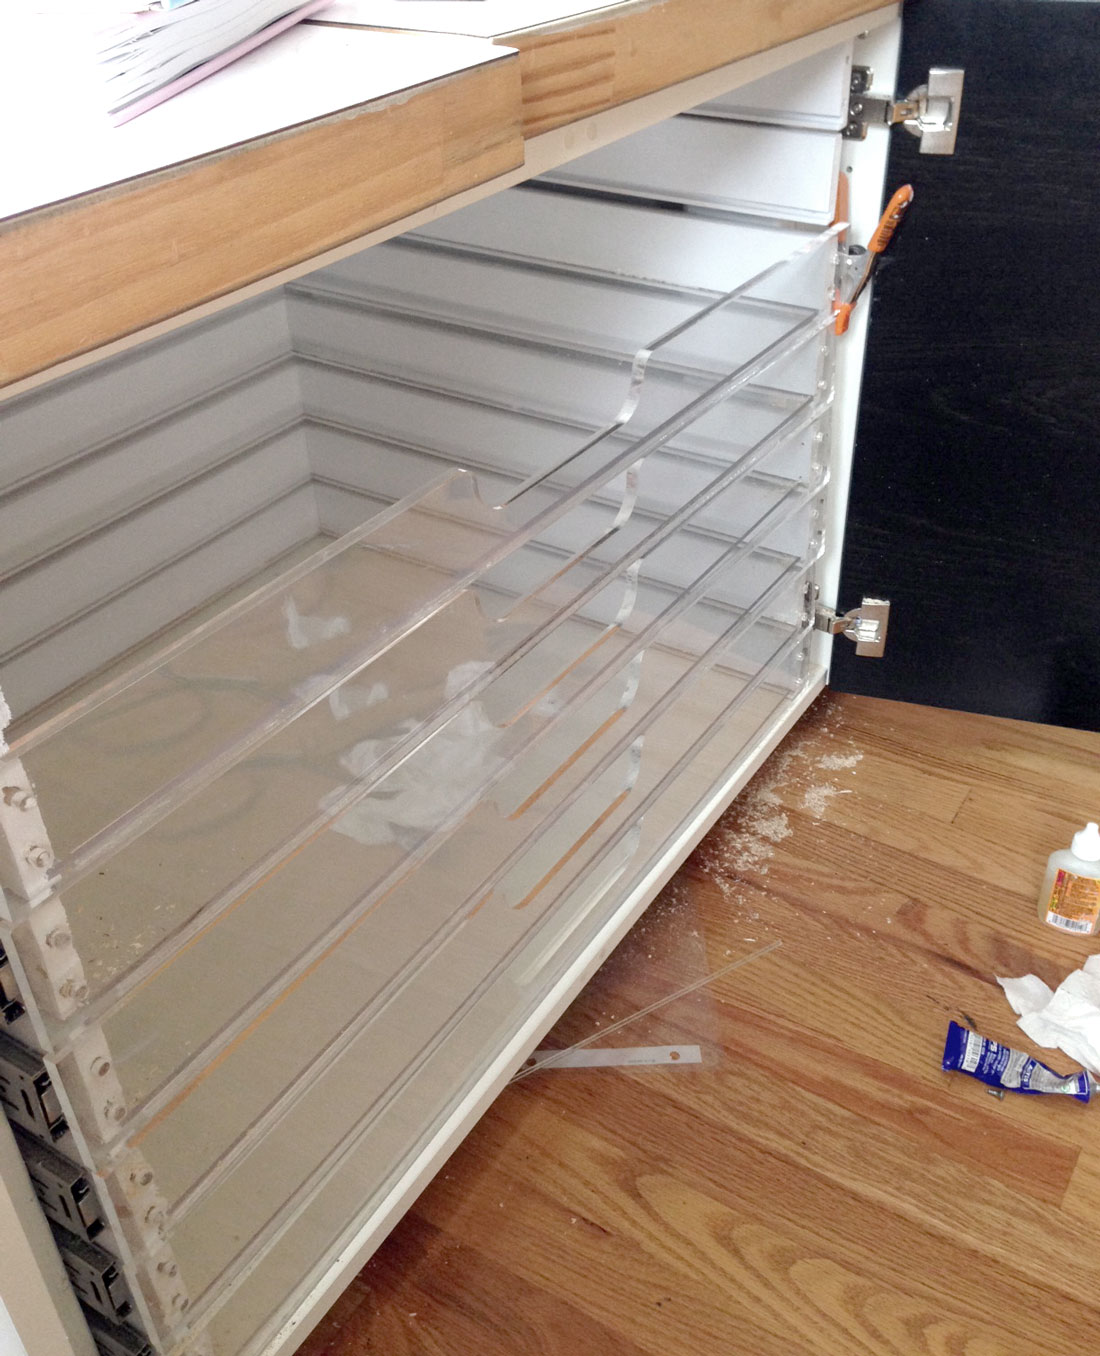
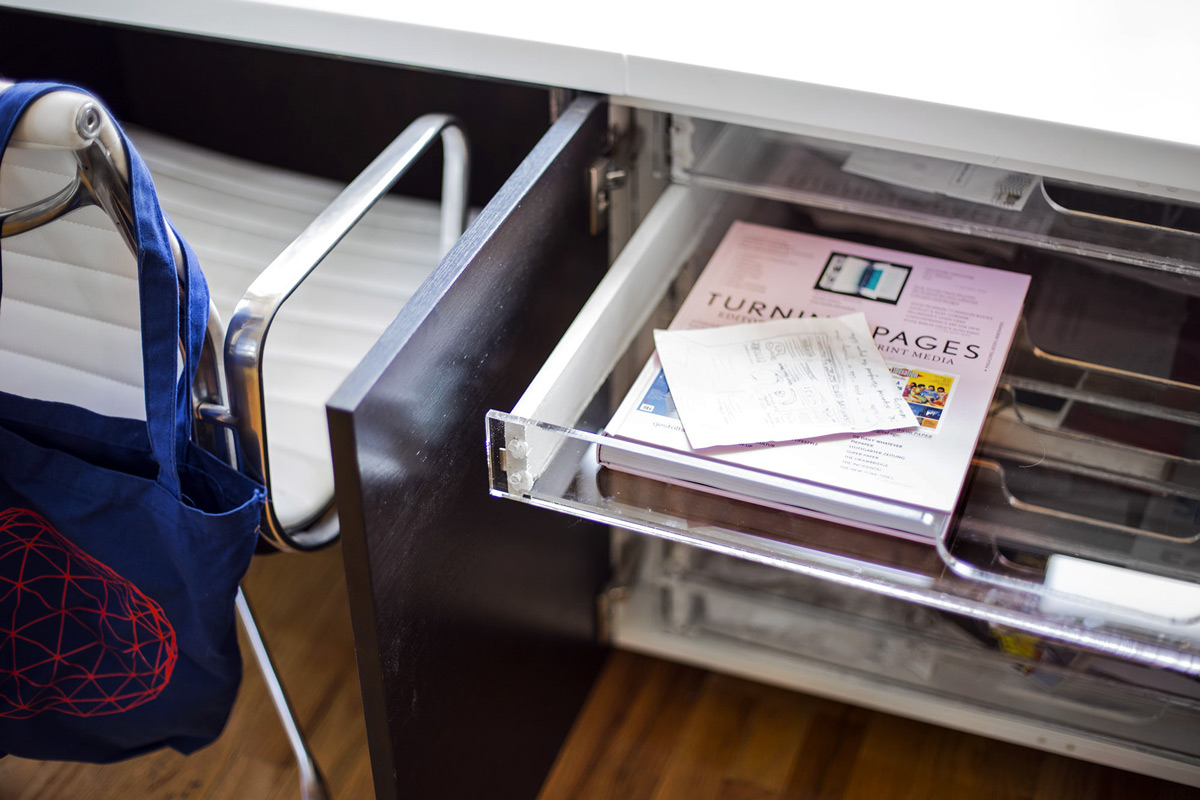
My modest construction victory was creating these clear plexiglass drawers to house current project ephemera in-sight/in-mind, without being spread out all over the place. (Fair warning: Unless you really like minutia and/or are really attached to your millimeter ruler, I wouldn’t recommend building your own drawers. They can be mathematically perfect and still stick.)
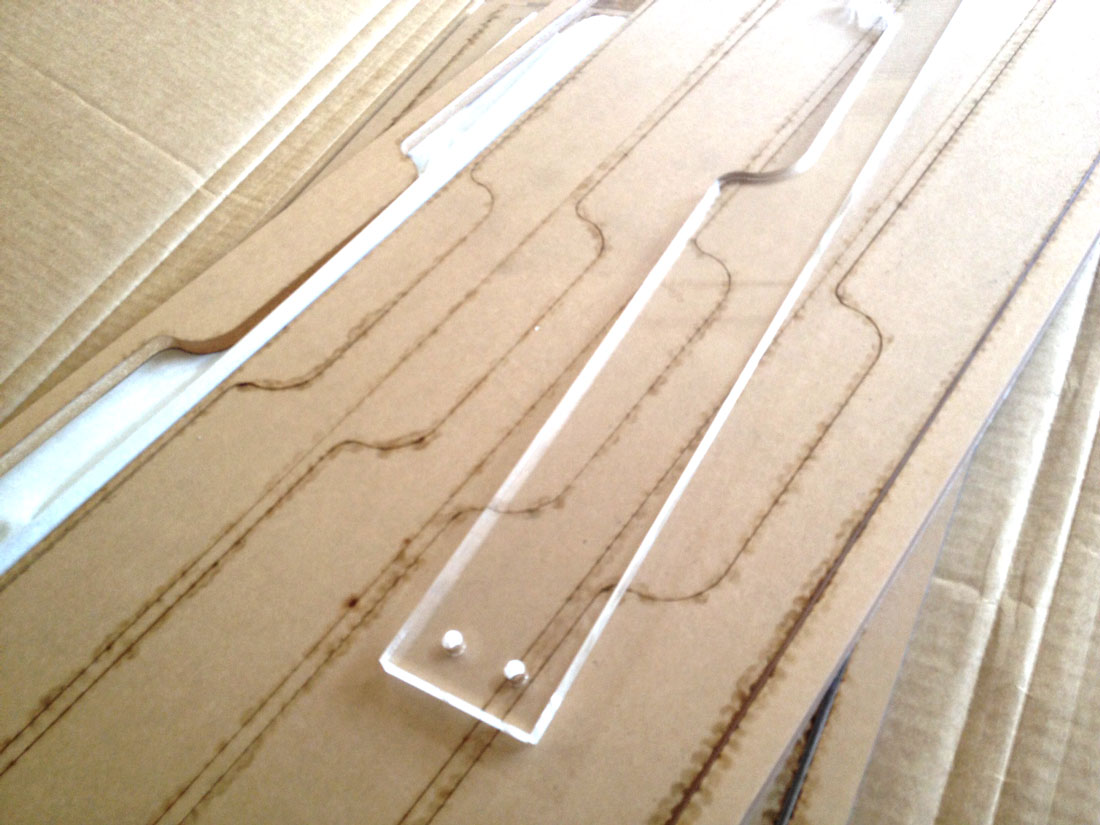
The drawer slide hardware came from Chinatown and the pre-routed drawer sides came from the internet. I drew the drawers fronts/pulls in illustrator (file) and ordered them from Ponoko (convenient, but pricey… avoid it by talking a friend into using their laser cutter.)
Adhesives used: Clear gorilla glue (dries white… boo!) and Weld-On Plexiglass glue, which can only be used to bond plexi to plexi, but *incredibly* chemically reconfigures the polymers in the plexiglass to form a very solid bond, as if it were one piece.
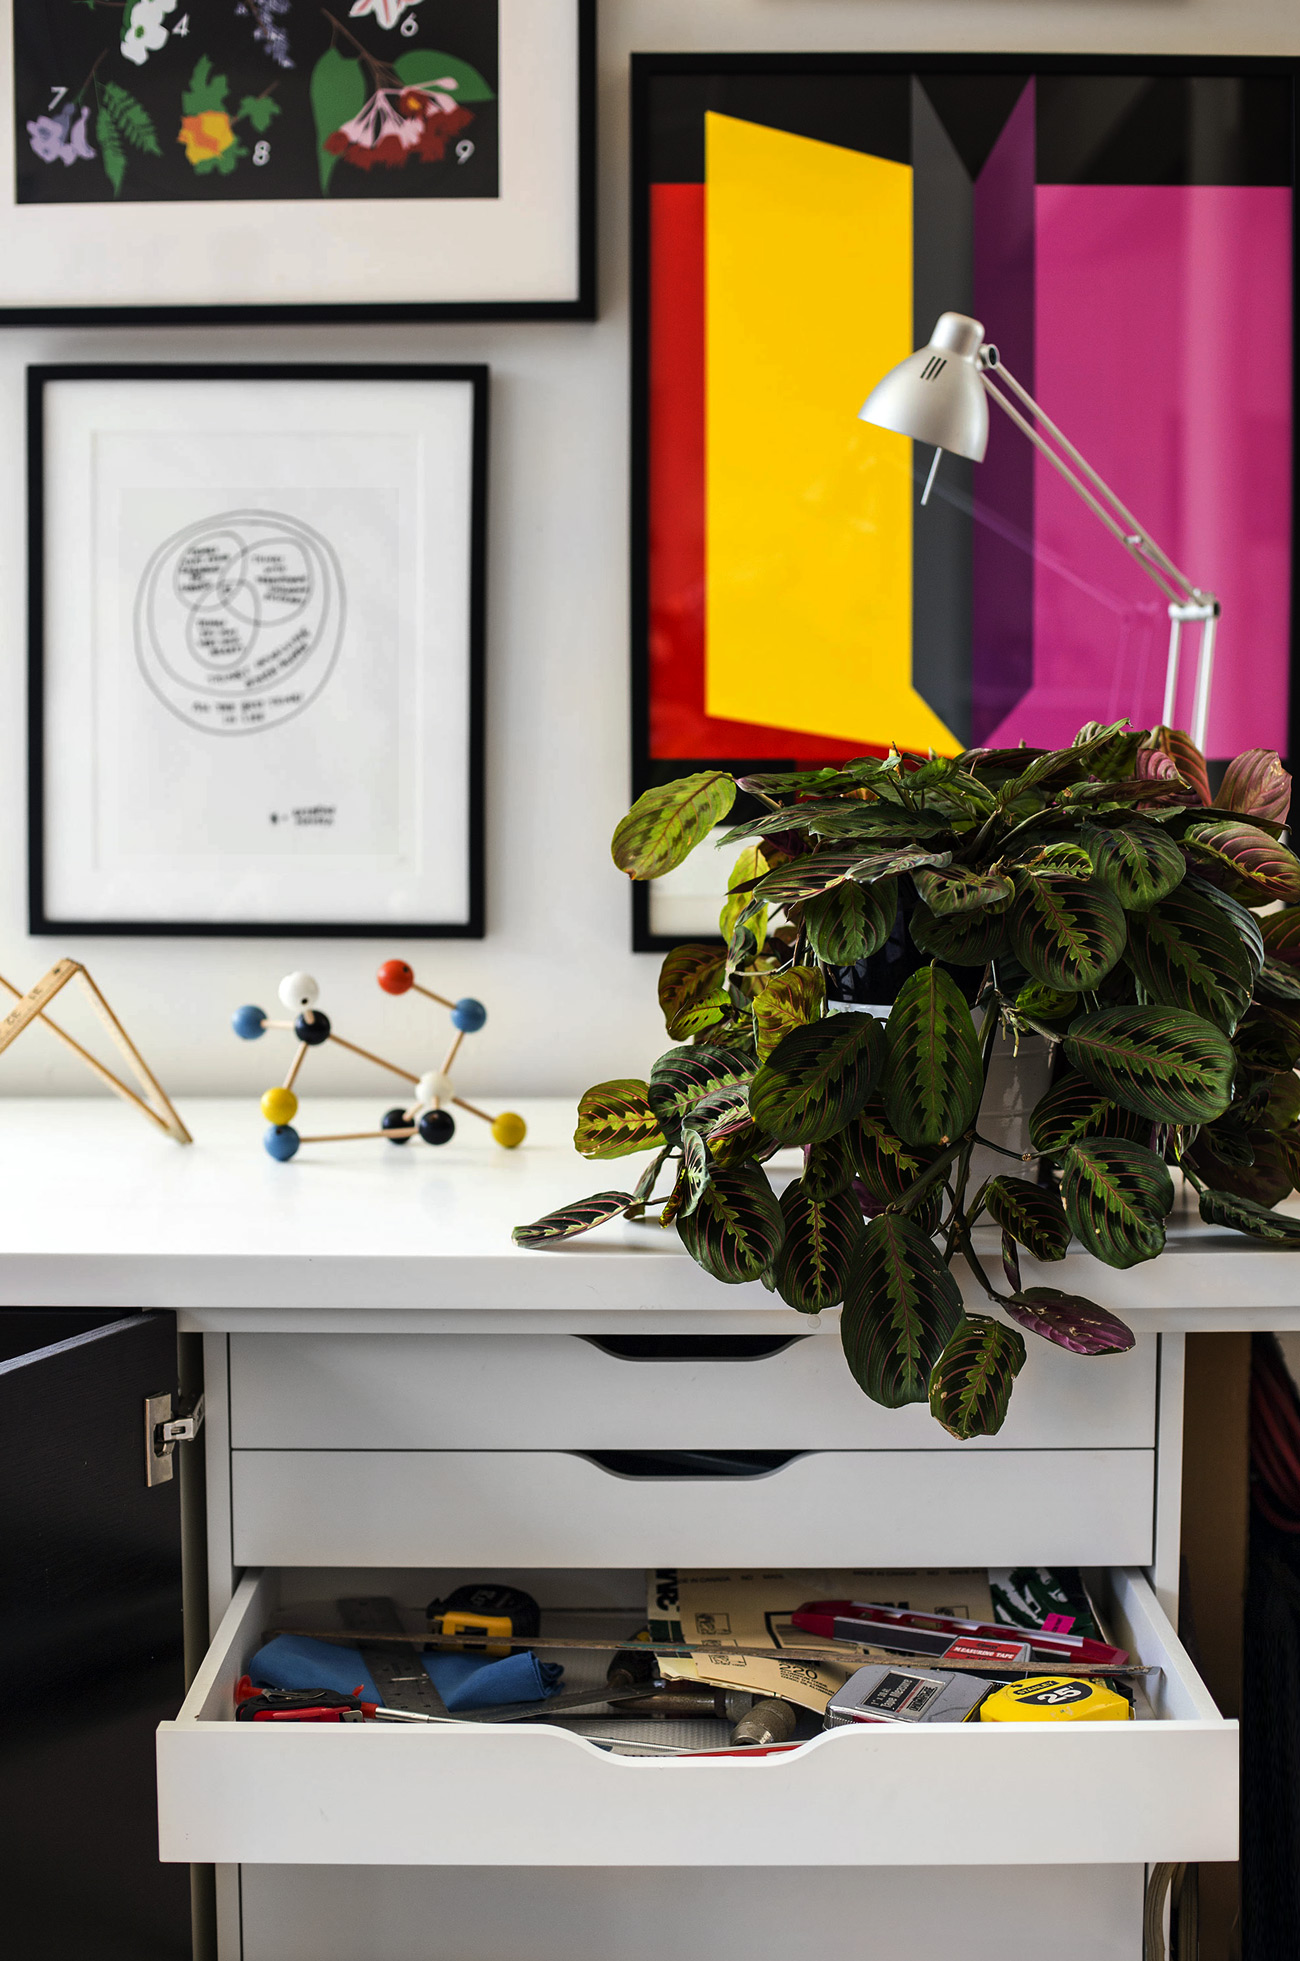
After tearing the top and bottom off of it, this Alex drawer fit seamlessly into the cabinet and houses all of our hardware and tools.
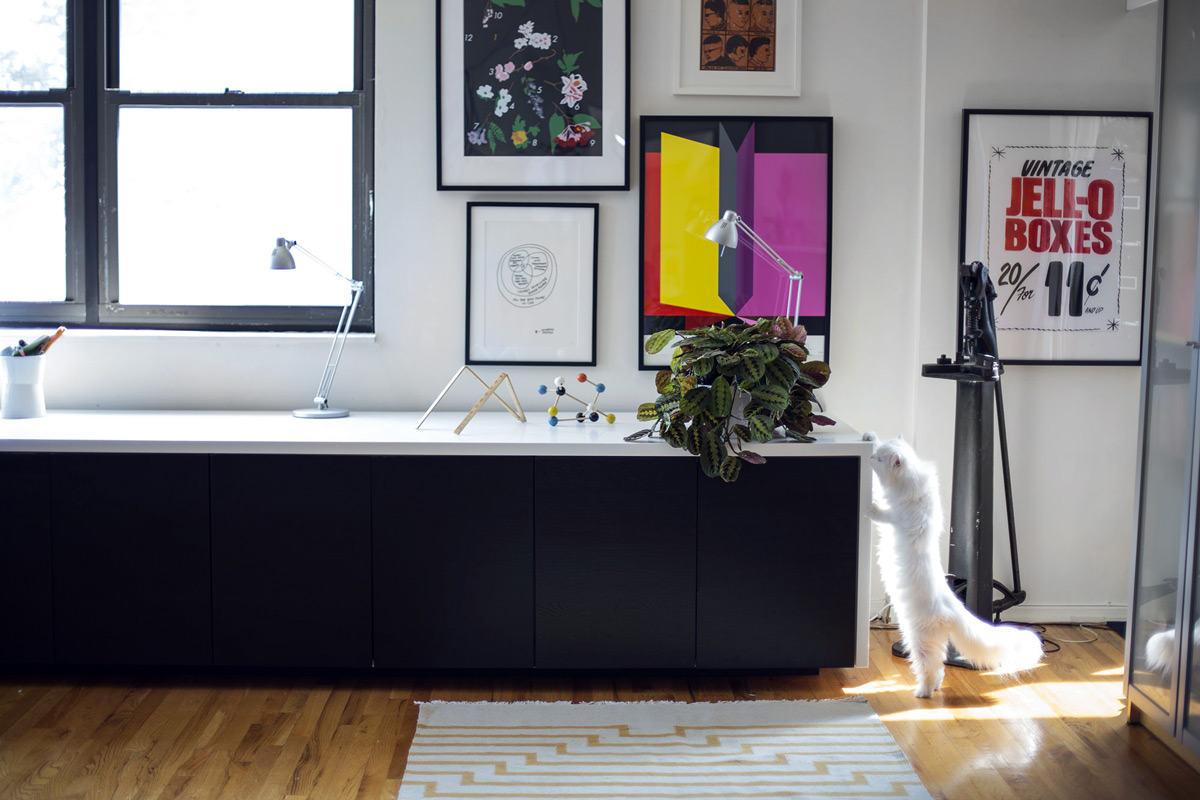
Ta-da, the final thing… and me (and the cat) being rather pleased with it. If you have any ideas to approve upon this design (especially if you find the Goldilocks actuator), let me know and I’ll update the post. And if you’re embarking on a similar project and need construction help, hire Dustin—he has built everything, even an indoor tree.
Yeah! Done.
Update: A few people have requested that I break down the expenses for making the desk here. (Approximations noted with “~”)
The 16-foot base desk—
• IKEA Akurum refrigerator wall kitchen cabinets and all hardware and interior shelving (these guys.) – 805.00
• 21’x 3′ sheet of Acrylic+installation from Lowe’s – 1955.00
(Note: A less pricey and similar-looking option would be to use white doors before the holes are cut into them.)
• Scrap wood to levitate base off of ground – ~0-10.00
• Wood veneer and stain to cover exposed white sides of Ikea cabinets – ~10.00
(For inside the computering/sitting area.)
Moving parts-
• Linear actuator, power adapter, and rocker switch – ~200.00
• Cradle parts (wood, pipe, plastic rails) – ~100.00
The plexiglass drawers—
• Drawer slide hardware from Chinatown – ~70.00
• Pieces of plexi for drawer bottoms – ~175.00
• Pre-cut drawer sides – ~40.00
• Custom designed handles from Ponoko – 131.00
The “tool chest” drawers—
• ALEX Ikea unit, deconstructed – 130.00
GRAND TOTAL = 3616.00*
(plus about a thousand hours of elbow grease)
*Expensive, but the overall cost could be greatly reduced if you skip out on the acrylic top (important to me, in this case, because of its utility as a photography backdrop and because of its durability.) Some things I would do differently now that I’m a little wiser (which may impact cost +/- include): either hiring a professional to build the drawers (or simply using only ALEX units but replacing the faces with plexiglass), hooking up a remote to control sitting/standing position (rather than the rocker switch), and buying a more powerful actuator (for speedier levitation.) Also, I suspect other people may not need all 16-feet of desk (it is, admittedly, a lot of desk), but I really needed the extra storage space in my 1-room apartment.
Related posts:











This is terribly attractive and oh so functional! It is a great workspace, well -designed and well-executed!
What an amazing desk! I have a terrific standing desk from the 20’s but were I to need a new desk I would certainly use your desk as the model.
Congratulations on the great results.
I love this desk and am going to email Dustin to see if we can hire him to build these for our new office space.
How much did the whole project cost?
Thanks!
Kelsey
Hi Kelsey,
I dug up my project expenses and have added them to the end of the post! Note: these are just the material expenses, since we DIY’ed. Hope this is helpful! Good luck with your new office design!
Kelli
This must be one of the most inspiring workspaces I’ve seen. And for a workspace to be “inspiring” is saying something. Thanks for sharing. It is amazing and I bet it makes sitting down to work a whole new experience.
Thanks Ben! Yeah, given the hours that I keep, I realized that having an inspiring workspace—that facilitated whatever work I wanted to do— was really important. Has definitely been worth the time and money!
Here via lifehacker, so I had a metroid surprise at the end. (Reading titles doesn’t seem to be my thing.)
Interesting solution, especially seeing as how an electric Galant desk costs nearly 600€. I’m currently using an old kitchen table as my desk, which is suboptimal in some ways.
This is the most awesomest desk ever and the best use of fauxdenza I’ve seen yet!
Thanks for taking the time to detail your project, this is very inspiring. I have been trying to look for a better solution for my computer desk (an 18-year old Costco banquet table) for some time. The automatic sit/stand desks I’ve seen online are too painfully expensive for me, and don’t perfectly fit the parameters of my workspace.
I also am a big fan of stuff that “floats” off of the floor, so I can clean underneath.
Did you guys dream up the plans for the moving desk portion of this project, or base them off of existing plans? This to me is the most interesting and complicated bit. It looks like most of the stress from the lift operation is placed on the back panel of the desk, which looks to be maybe a 1″ x 6″ strip of plywood. I would be curious to know if it’s showing signs of becoming a failure point (although admittedly pretty easy to replace).
Again thanks for the great writeup.
Hey Jeff, Thanks. The moving part was Dustin’s invention. I took some measurements and mocked up the two pieces 1:1 in Illustrator (not the best illustration, but it is accurate!): http://www.kellianderson.com/dimensions.pdf (If you open it up in Illustrator, 1 in = 1 in)
If you look at the back.pdf: theoretically, the weight bears down on that top crossbar in the back of the cradle piece. We were concerned that the weight of the computer (when paired with the small pokey top of the actuator) would put undue stress on the wood and break it in the middle. So Dustin created a steel holster-of-sorts out of a pipe welded onto a simple crossbar. That piece of steel reinforces the top wooden crossbar.
It seems to be holding up OK– I’ve actually been using the desk for a year now (I’m not quick-on-the-draw with these project posts.) While I’m working, the desk is pretty much always in the standing position. However, I lower it when I go to sleep to give it a rest. And I wouldn’t climb on top of it or anything… Anyway, hope that helps- and let me know if you have any ideas to improve it.
Kelli
Love the Andrew Kuo print
Printed Matter, baby!: http://printedmatter.org/catalog/editions
Really cool, love it, but now you need a better chair to spend 10 hours a day working.
Very nice!
If the actuator is up to it you might consider a lever arrangement that would make it move faster / double the speed.
I am envious!
Thanks for sharing
Beautiful and painstakingly perfect!
My only hope is that that superb map cabinet wasn’t harmed in the process…
Love the Zurich Opera House poster 🙂
t.
Oh, and you should consider submitting your project to http://www.ikeahackers.net/
This desk was the talk of the office this morning.
Wow! This is so awesome! I’m having serious desk-envy. 🙂 Thanks for sharing your entire process here. I’ve got a walking desk (Ikea hack to make a standing desk out of my regular desk + cheap treadmill), but would love such a clean, tidy workspace. You’ve given me great inspiration!
Man, it is so much better to stand all day! I was a little worried about my legs getting sore, but (I think) I’m actually more productive and less backachey/complain-y standing while working. Have you read this Susan Orlean article about her treadmill desk?: http://www.newyorker.com/reporting/2013/05/20/130520fa_fact_orlean (If not, it is pretty funny)
Impressive, but quite EXPENSIVE! One can buy an standing desk online for anything from $250- $1000 depending on the features (whether it’s electrical or not)..
Amazing Kelli! As a future industrial designer, I love this desk design and what you’ve done with it! Totally inspiring! (lazer cut drawers – BALLER!)
Cheers,
Dayna
Never ceasing to amaze me. :’)
Kelli, you are out of this world. Thank you for this hack and for all the other lovely ideas that spring out of your head.
Thank you!
I have almost the same setup in my office area, where run stuff, do design, illustration etc… same kind of desk (not as cool as your great solution), same mac, same wacom, same scanner. I like they way you all think and make over there. Best to you. Respectful Regards, Sandy
I love your desk so much, I think I’m gonna marry it.
What kind of chair is that? Been looking for one like that for a while! Very impressive desk!
Hi Andreson,
how deep is the desktop?
36 inches!
what an awesome desk! i am constantly trying to figure out ways to hide all the tools i use and this is a great solution and use of space. i’m dying to know though – is your peg sorter mail/display holder thing repurposed or something you designed and made? it’s so cool looking!
I can see how this would be very functional. I would like to know if there is a taller option with doors to store/hide more. For example, as I look at picture of this I see on far right open space where pictures are hung on wall. I would like to take advantage of this space with “what I will call” taller option to utilize wall space.
What I picture is more of a “L” shape design instead of linear.
Hi Kelli,
Great hack! BTW, I think the link to the Ikea Akrum cabinets may be wrong. The depth of the frames you linked is only 12 7/8″. Perhaps the frame you used really is this:
http://www.ikea.com/us/en/catalog/products/30187586/#/04384810
Thanks!
-J
That is a great idea! One idea to help you with the switch problem is to wire up a cheap microcontroller to a relay witch then connects to the actuator, which would then be controlled by your Imac (very simple code). If you are interested, I could draw up a wiring diagram for it and write the code. About a $15-20 solution which is ever hackable. You could also just use a linear potentiometer (a sliding lever like a dimming light switch) to control the hieght instead of or in addition to your computer. Anyways, very good job on the desk.
This workspace is beautiful and I offer you a hearty congratulations for your care and good work to make it come together so nicely.
For what it’s worth, I was also was on a mission to build my minimal “dream desk” about a year ago. I built one… I built a few more… now it’s a company shipping solid wood standing desks nationally 🙂 Maybe someone here will dig it: erectordesk.com.
Splendid. Thanks for the share! I just bought the Human Scale Float desk. I would have likely tried doing something like this since I had researched hydraulic systems to raise a desk like the Float does.
Your setup looks downright amazing. Also, cute cat in the last pic, I almost didn’t see it!
I genuinely treasure your work, Great post.
http://www.heartsintohome.com/2012/09/10/reasons-to-love-the-fall-fair/
Hey Kelli,
I’m in the middle of a custom sit/stand but with a floating desk. I was wondering if you feel trapped by the narrow leg space you have now?
Enjoyed reading through this, very good stuff, thanks.
Thanks for posting this, great design and IKEA hack. Well executed and documented.
Hi there,
What height cabinets did you use? I see you got the 24″Deepx36″ wide versions.
Cheers!