Letterpress Hack #1
 An old plate+scissors= a new project
In this new series, “letterpress hacks,” my intention is to share some things that I’ve picked up through experimentation and/or the misuse of materials. It will cover unconventional (i.e. incorrect) shortcuts, alternative uses, and tools that I find useful in extending (i.e. hacking) this truly fantastic printmaking medium.
Letterpress process
Like other printmaking methods, letterpress is a process-intensive form of image-making. It may require years of practice to truly master the nuances of roller height, impression, ink viscosity, registration…and to fully understand the implications of environmental factors on the final print. A perfectly calibrated print run on a dry Monday will not print correctly on a humid Tuesday due to roller expansion. I mention this obscure example because correlating the roller bloat with the humidity was a small personal victory of scientific observation for me—a rare insight into a medium where imperceptible increments like .5mm (remarkably) matter. Anomalies frequently present themselves as cruel acts of god, originating from no discernible physical cause. Thus, printmakers (rightly) tend to develop ritualistic and sometimes eccentric behaviors to exert control over a process with many teeny-tiny unknowns.
I definitely have my own small collection of rituals and superstitions, but this series will avoid those and cover something more fun. It is a series about off-roading into territory that can be favorably described as “creative variations” on the traditional process.
This first installment is a starter-hack and does not stray too far from the process (more radical suggestions will follow.) For background, modern letterpress prints are created with either old-fashioned lead type or with flexographic polymer plates. The advantage of lead is that the type itself is modular and can be reused over and over again in various configurations (very useful if you are type-setting an entire book.)

However, what the polymer plate flexography lacks in modularity, it gains in customizability and convenience—and is generally the preferred plate type of custom print shops. If you can design it in Illustrator, it can be made into a polymer plate within about an hour. It is inherently more modern in this respect—this is how letterpress has been adapted for the digital age.

But polymer doesn’t necessarily have to lack modularity—although re-use often means destroying one design for another. Polymer plates are essentially three-dimensional stickers, which may be cut, shaved down, and physically altered in any way that the printmaker sees fit. Much like working with linoleum, wood blocks, and other carving methods of printmaking, polymer letterpress plates can be worked in a reductive manner.
Using an old plate for a new project
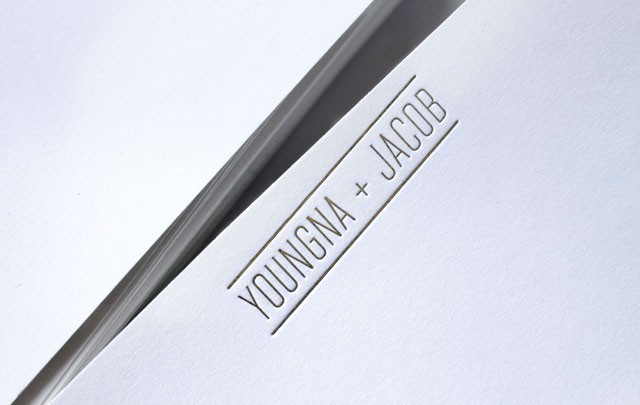
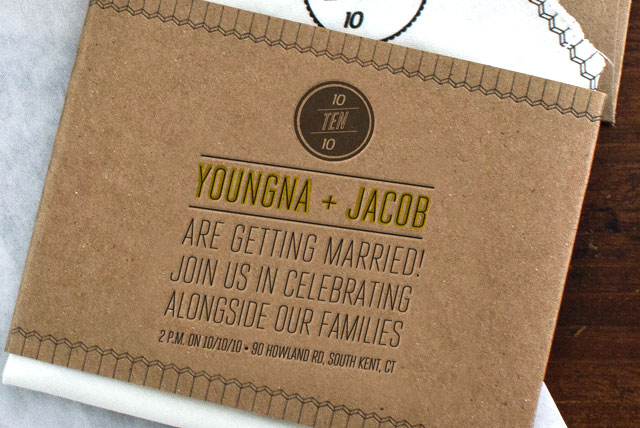
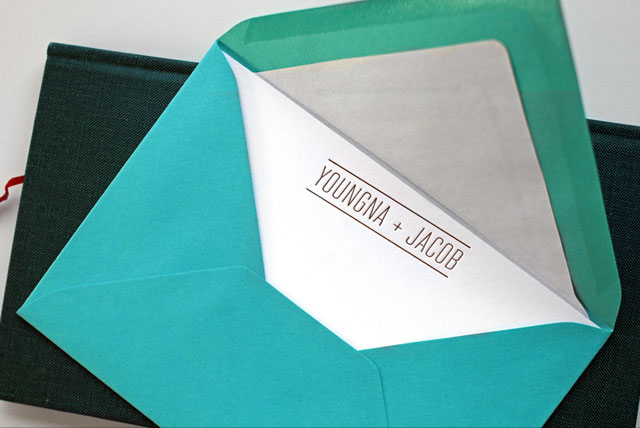
For a simple case study, I created some quick+easy stationery for my friends Jacob and Youngna by chopping up the plate that I had previously used for their wedding invite. This wasn’t a wildly creative project, but will work nicely for the purposes of explaining this hack. Here is the letterpressed band on their wedding invite (with the Jacob+Youngna text-to-be-poached.)

Since I had created the original in Illustrator, it was easy for me to open up the comp for the wedding invite, swipe the “Jacob and Youngna” type and rapidly show them a stationery comp for approval.

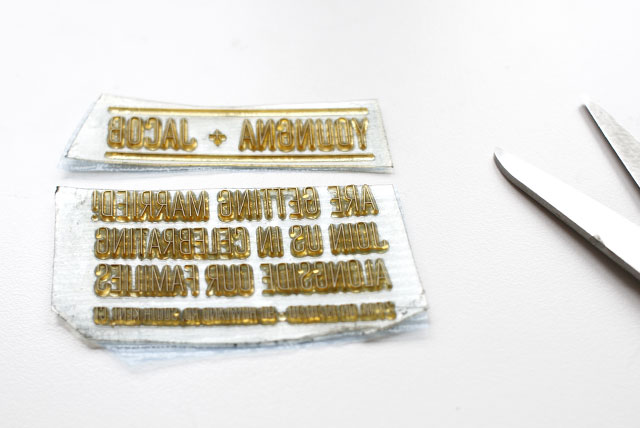
I then *carefully* carved their names out of the original wedding invite plates with a scissor. Scissors are surprisingly more precise than a utility knife for this purpose, which ice-skates over the slick surface a bit too much, although the utility knife is useful for “carving down” characters/design elements that you no longer want to print (anything shaved down lower than type-high will not show up in the print.)
I look forward to using this technique to create a print with several overlapping states (much like what is commonly done with woodcuts.) Sandpaper and other abrasives could also potentially be an interesting way to manipulate an old plate. Stay tuned for something a little more messy in the new year.
Related posts:

Awesome post.
Thanks for this blog. I think a good artist designer is also half chemist scientis. I wondered if you could write about / give some advice about the equipmnet, space needed run a letterpress set up susch as yours? Thanks
That is a great idea, James! Some time in the new year, I plan to write about my workspace and equipment. For smaller-dimensional jobs, like this one, having a press in my apartment (so I can print business cards fast at 4am) is really convenient. The best thing ever. For bigger pieces of paper, and just for a change of pace, I have been going to a community printspace in my neighborhood (called The Arm) which is also great. Having your own studio has its advantages and disadvantages—it is not always the best thing. Especially in NYC where space=money in a dramatic way. So that is my balance. I do covet and tend to collect equipment, even though I know that I prefer to live with furniture.
Great Article.
Where can i get a simple machine that can print embossed letters like you did or simply simple letter press set? any leads?
Sam
Hi Sam,
Try briarpress.org for a quick education on the types of presses. At this point, there are also lots of videos of different presses in operation on YouTube, so you can a sense for the different types in action. Finally, eBay is a good place to buy letterpress equipment.
Cheers,
Kelli